
Ever found yourself working in Adobe Photoshop, armed with enthusiasm but feeling completely lost? Well, I’ve been there too. Just a few weeks ago, I decided to try the program, eager to turn my creative ideas into reality.
One of the first challenges I encountered? Creating a simple arrow. It might sound basic, but for a newbie like me, it felt like trying to crack a code! Now, having experimented, failed, and then finally succeeded, I’m here to share with you a simple beginner’s guide on how to do it.
Trust me, if I can do it, so can you.
First Things First – Set Up Your Workspace
Before doing anything in Photoshop, it’s imperative to set up your workspace. This not only streamlines your workflow but also ensures that you have all the necessary tools at your fingertips.
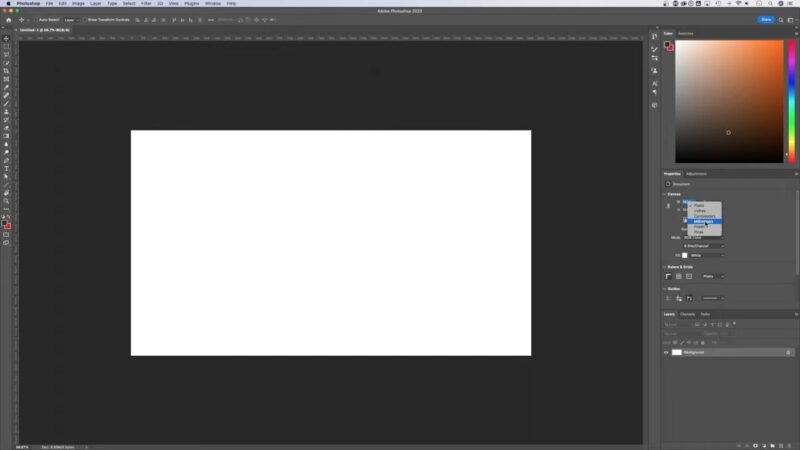
Choosing the Right Canvas Size
Picking the correct canvas size is fundamental. For standard web graphics, 1920×1080 pixels is a good size. However, if you’re designing for print, consider higher resolutions and set the resolution to at least 300 dpi.
You can always scale down a design, but scaling up might make your dart pixelated.
Navigating the Toolbar
The toolbar on the left side of the Photoshop window is your best friend. Familiarize yourself with its various tools, especially the Line Tool and Custom Shape Tool, as these will be vital for our goal.
Basic Arrow Creation
Now that our workspace is ready, we’ll start with the basic steps of creating an arrow. This will give you a foundation to build upon, allowing for more complex designs in the future.
Using the Line Tool
The Line Tool, represented by a diagonal line icon in the toolbar, is the simplest way to draw straight lines in Photoshop. First select the Line Tool and then, in the options bar at the top, click on the arrowhead options.
Here, you can adjust the width, length, and direction of your arrowheads.
Customizing with the Custom Shape Tool
Beyond the Line Tool, Photoshop offers pre-made shapes. Click on the Custom Shape Tool (it looks like a blobby star), then in the options bar at the top, click on the shape dropdown. From there, select “Arrows.”
Simply click and drag on your canvas to create an arrow.
Advanced Design Techniques
Once you’ve mastered the basics, it’s time to elevate your design. Advanced techniques can bring uniqueness and flair to your creations, setting them apart from generic designs.
Adding Gradients and Textures
Arrows don’t have to be flat and monochromatic. By right-clicking the arrow layer and choosing “Blending Options,” you can add gradients, shadows, and textures. Gradients can give depth, while textures can provide a tactile feel to your dart.
Manipulating with Transform Tools
Want to twist, turn, or warp your arrow? Head to Edit > Transform and choose from options like “Rotate,” “Skew,” or “Warp.” This is especially useful if you’re aiming for a more dynamic or abstract design.
Utilizing Layers Effectively
Layers are one of Photoshop’s most powerful tools. By mastering layers, you’ll gain the ability to tweak your designs without compromising the original elements, ensuring maximum flexibility.
Layer Styles and Effects
With your arrow selected, right-click and navigate to “Blending Options”. Here, you can apply various styles like Drop Shadow, Outer Glow, and Bevel and Emboss. Each effect can be adjusted for opacity, angle, distance, and more.
Layer styles are non-destructive, meaning they don’t permanently change your design and can be toggled on or off.
Layer Masks for Non-destructive Editing
Layer masks allow you to hide or reveal parts of your arrow without permanently erasing anything. Simply click the “Add Layer Mask” button (it looks like a rectangle with a circle inside) at the bottom of the Layers panel.
Now, using a black or white brush, you can paint areas to hide or reveal them.
Styling Techniques
Arrows, at their core, are functional design elements. However, with some creativity, you can transform a simple dart into a stylish and impactful design component.
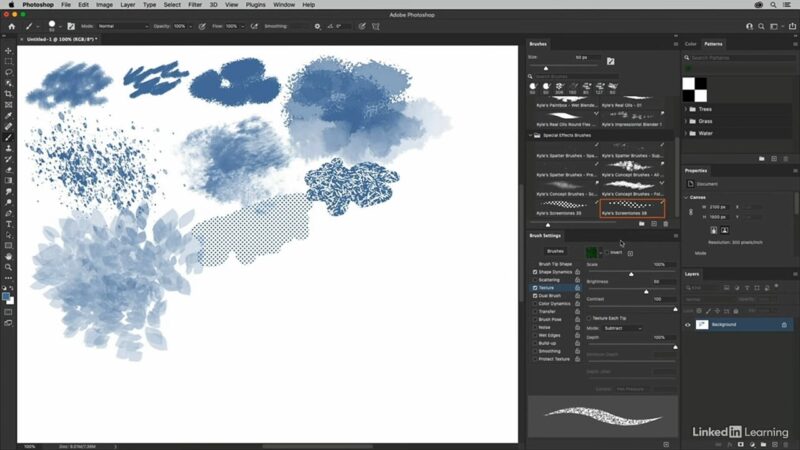
Incorporating Brushes
By using the Brush Tool with custom brushes, you can add decorative elements to your arrows. Floral, grunge or abstract brushes can be downloaded from various sources online.
Use these brushes on a new layer to stamp designs around your dart or directly on its path for added flair.
Integrating Typography
Merging text with your arrows can result in dynamic compositions. For instance, you can have text follow the path of the dart using the “Text on Path” option. To do this, simply select the Text Tool, hover over the edge of your arrow until the cursor changes, then click and type.
Animating Your Arrow
Digital designs can be brought to life with animation. Photoshop, although primarily a design tool, has rudimentary animation capabilities that can be harnessed to make your design move.
Frame Animation Basics
Under the Window tab, select “Timeline”. Click “Create Frame Animation“, and each frame will represent a stage of your arrow’s movement. Adjust the position of your dart for each frame and set the time delay to control the speed of the animation.
Tweening for Smoother Transitions
Instead of manually adjusting each frame, Photoshop offers a ‘Tween’ function. After setting your start and end frames, right-click and select “Tween”.
Photoshop will then create intermediate frames based on your input, ensuring a smoother animation transition.
Enhancing Arrows with Filters
Filters are an essential component of Photoshop, offering a myriad of effects. Integrating these into your designs can introduce a new level of depth and detail.
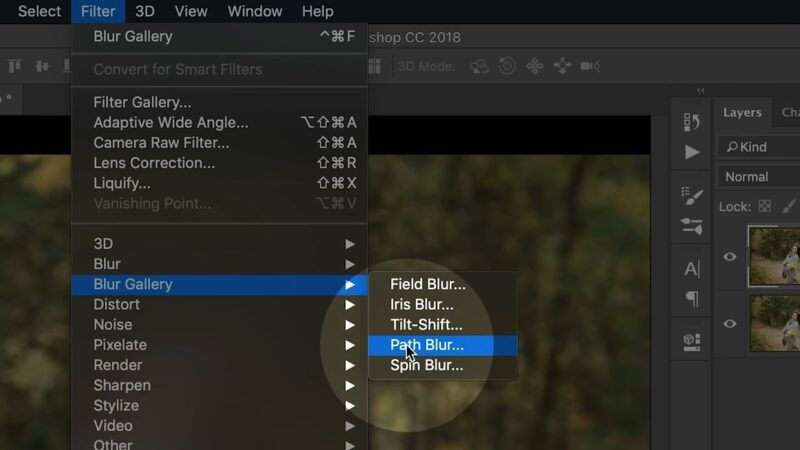
Applying the Blur Effect
Blurring can help create a motion effect or provide a background element that doesn’t overpower your main design. Navigate to Filter > Blur, and you’ll find options like Gaussian Blur or Motion Blur. Adjust the intensity to get the desired effect on your arrow.
Using Distort Filters
These can give a fun twist to your arrows, making them look liquid or skewed. Filter > Distort provides options like Wave, Zigzag, or Twirl. Remember, subtlety is key. Overusing these can make the design confusing.
Exporting and Saving Your Design
Once your masterpiece is complete, it’s crucial to save and export it correctly, ensuring its quality is maintained across various platforms and uses.
Saving for Web Use
For online use, it’s important to balance quality and file size. Go to File > Export > Save for Web (Legacy). Typically, PNG or JPEG formats are suitable for web graphics. Adjust the quality setting and ensure it looks crisp while keeping the file size manageable.
Saving for Print Use
If your arrow design is for print, ensuring high resolution is crucial. Use File > Save As and choose formats like TIFF or PDF. Always ensure that the resolution is set to 300dpi or higher.
Tips for Efficient Workflow
Mastering the technical aspects of Photoshop is essential, but adopting an efficient workflow can elevate your design process, saving time and minimizing potential errors.
Using Shortcuts
First of all, equip your self with good keyboard and than learn the shortcuts. Keyboard shortcuts can significantly speed up your design process. Familiarize yourself with common shortcuts like Ctrl/Cmd + T for transform or Ctrl/Cmd + J for duplicating layers. Over time, these shortcuts will become second nature.
Organizing Layers and Groups
As designs get complex, layers can become numerous and confusing. Name each layer descriptively and use groups (by clicking on the folder icon at the bottom of the layers panel) to cluster related layers together.
This ensures that you can easily navigate and modify your design.
FAQs:
Are there plugins or additional tools that can help in arrow design?
Yes, there are numerous plugins and extensions available for Photoshop that cater to arrow designs. Some of these tools offer advanced shapes, automated path designs, or animated effects.
Searching Adobe’s plugin store or trusted design forums can provide recommendations.
What if I need a series of uniform arrows for a project?
After creating your first dart, you can use the Duplicate Layer feature to replicate it. Then, simply use the Transform Tool to position, rotate, or resize the duplicated arrows as required, ensuring uniformity across your design.
Can I integrate my arrow designs into other Adobe software like Illustrator or After Effects?
Definitely. Adobe products are designed to work cohesively. You can save your Photoshop file in a format like PSD or TIFF and then import it into Illustrator for vector-based adjustments or After Effects for more advanced animations.
How can I ensure that my design remains editable for future changes?
One best practice is to always maintain a non-destructive workflow. This means utilizing layer masks instead of erasing, and keeping shapes and paths intact rather than rasterizing them.
Also, save your work as a PSD file, which preserves all layer information for future edits.
Are there any color theories or guidelines I should follow when designing arrows?
While arrows can be any color, considering their context is important. If it is meant to grab attention, vibrant colors might work best. For professional or formal designs, muted or monochromatic color schemes could be more appropriate.
Familiarizing yourself with basic color theory can guide these decisions, ensuring that the arrow complements the overall design.
Summary
Creating an arrow in Photoshop, as you’ve seen, can be as straightforward or as intricate as you’d like. The real fun begins when you mix and match techniques, pushing the software’s boundaries.
Whether you’re a beginner just starting out or a seasoned designer looking to refresh your skills, remember that continuous learning and experimentation are the keys to mastery.