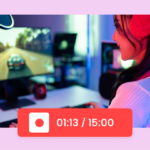

Some of the most popular channels on YouTube are those where gamers make live commentary while streaming popular video games. YouTubers who love video games engage with their audience and make the gaming experience all the more interactive for them. However, recording and editing a gaming video requires editing chops and a thorough knowledge of all gaming tools.
Editing And Fine-Tuning A Gaming Video
There are several platforms like Adobe Express that allow you to easily upload your videos. Moreover, they offer several templates that allow people to create videos from scratch. Further, there are quick and easy options to cut, trip, and add audio clips to your videos.
So, if you are a new entrant in the world of video game streaming, you can give platforms like Adobe Express a shot. Editing platforms give a one-stop solution for most of your editing needs, but if you are to learn from scratch, here are some quick steps that can help.
Step 1: Change The Default Recording Parameter Of Any App

Most gamers who stream a game on YouTube record the game using a recording app. Most recording apps have default recording parameters like the audio setting for the video, the webcam setting, the size of the recording, etc.
However, it is not advisable to use the default parameters. You may have to zoom in or out, change the contrast parameters, work with the brightness, audio quality, etc, to capture a good-quality video.
Step 2: Select The Area Of The Screen That You Wish To Capture
Once you have got the recording parameters right, you must work on selecting the right recording area to capture the audience’s attention. Choose between full-screen recording or recording a particular area of the window and record accordingly.
Step 3: Capturing The Audio
If you are giving a live commentary while playing a video game, there are two sources for the audio; one is the sound from the game itself and the second is the sound of the commentator. If you do not change the default setting, both sounds will get recorded on their own.
However, depending on the need, you will have to select the “don’t capture” button next to the mic option (for the commentator) and computer option (for the game’s audio). If there is an interesting twist upcoming in the game itself, you will capture the sound byte of the game. If there is something that you wish to explain or some cool strategy that you wish to share, you must capture the audio from the mic.
Step 4: Pay Attention To The Frames Per Second When Recording A Video
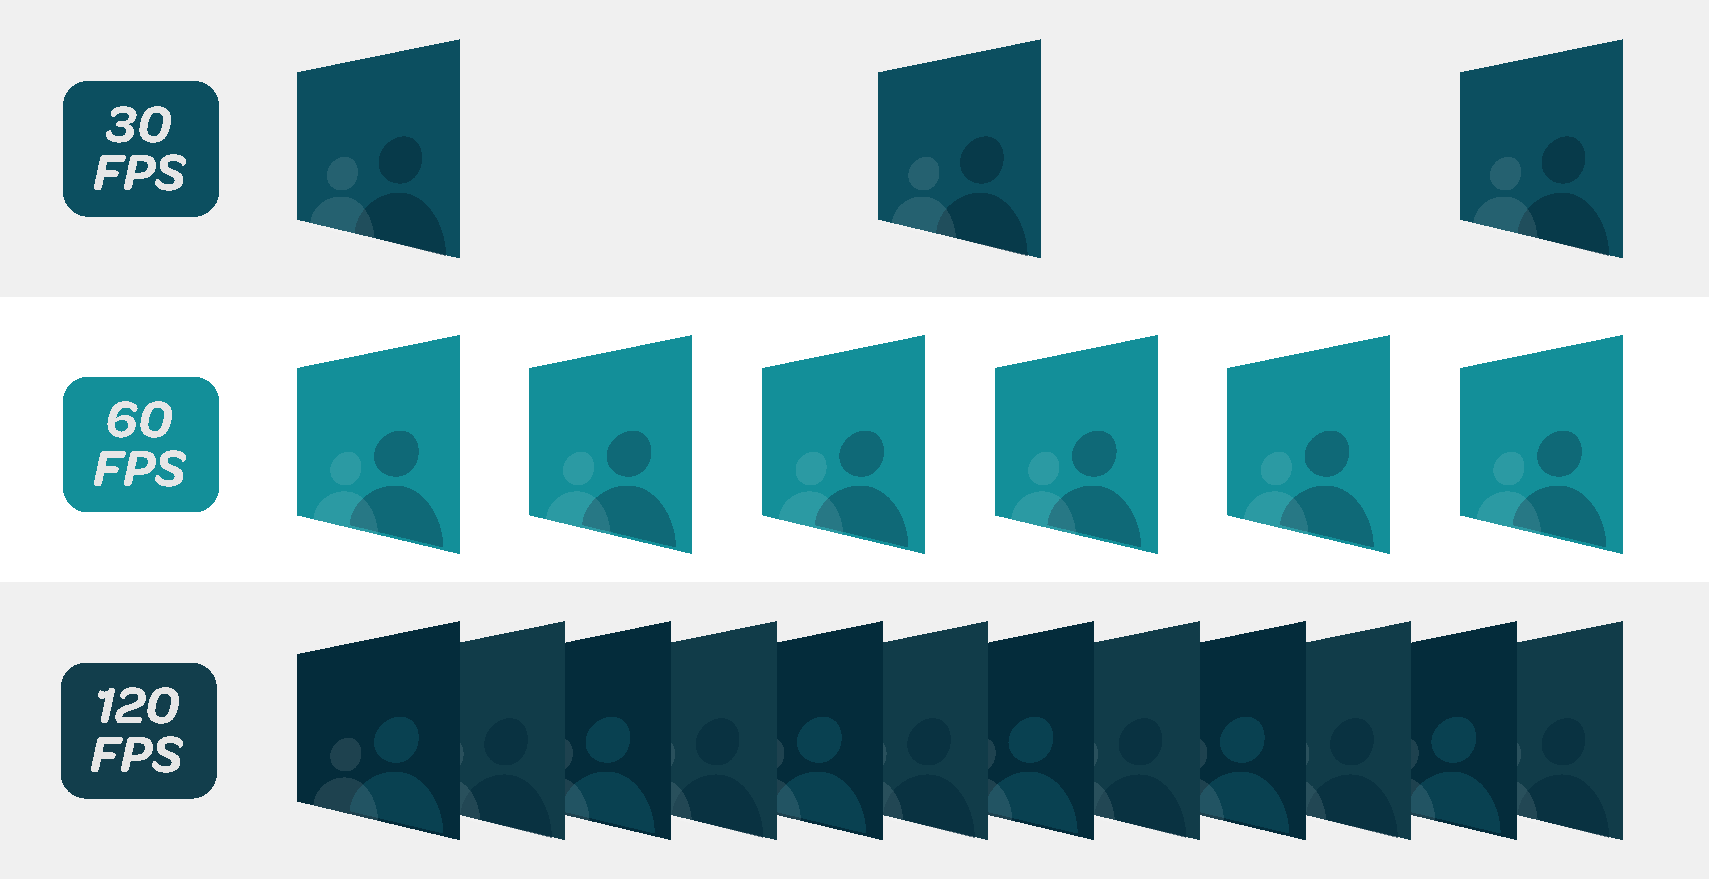
Many video games involve high-intensity drama and action, and to capture the real feel of the game, you must make the video as realistic as possible. Hence, the frames per second setting for recording the video will determine how realistic the game looks. You may have to give a few trials before you can finalize an optimum value for the frames per second.
Step 5: Select Where To Save The Recordings
Once all the above-mentioned points have been taken care of, click on start capturing r you can use a shortcut, i.e., F10 key, to start recording. Likewise, when the recording is done, you can click on stop capturing or again press the F10 key to stop recording.
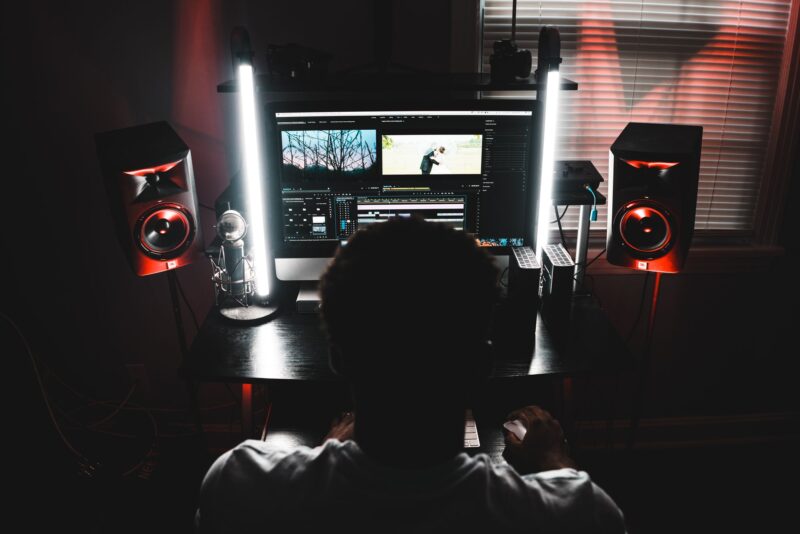
Once the primary recording is done, you need to edit the video to improve the overall quality of the video. Here are the steps to edit a video.
Step 1: Go To YouTube Studio And Trim The Ends Of The Video
This is a platform provided to creators that allows them to edit videos. Click on content and click on the thumbnail of the video that you wish to edit. Then click on the Editor button on the left side of the screen. The trimmer is set against the timeline of the video. A blue box will appear on the sides of the timeline; all you have to do is drag those two boxes to edit out the ends of the recording.
Step 2: Trimming From The Middle Of The Recorded Video
To trim the middle of a video, you have to select trim and then click on the split. Post this: you must click the end of the part that you wish to remove and then click split again to complete the editing process.
Step 3: Check The Preview Before Finalizing The Edits
Once you are done with all the edits that you wish to make, click on the preview button. This will allow you to visualize the final version of the video after the edits have been made. Only when you are satisfied with the preview, then click on the save button on the top-right of the screen.
Step 4: Adding A Start Screen Or Thank You / End Screen
Many creators like to add a start screen to welcome their audience and an end screen to thank their viewers for investing their time in watching the content. So, if you, too, want to add a start screen or an end screen, select an appropriate template and add that from the pop-up menu in the panel.
Conclusion
The steps mentioned above are some of the basic steps that go into making and editing a gaming video for platforms like YouTube. Platforms like YouTube are highly competitive, and many creators want to grab the attention of the viewers. Poor editing or below-standard video quality is one of the main reasons why most creators do not get a good response from the audience.
If you wish to become a good creator, focus on creating and editing good-quality videos, and the steps mentioned above will surely be of great help. Also, different platforms help you create a video; it is best to try out different platforms and choose the one that serves you best.